Sergey Smirnov
Script programmer at iRidium mobile
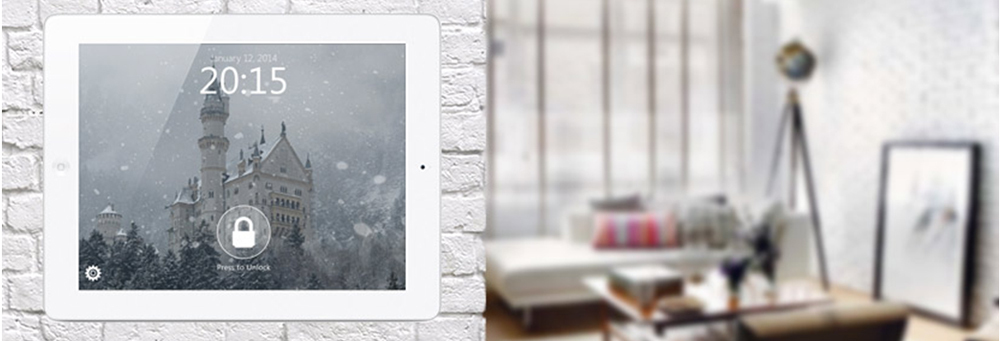
An animated screensaver is in no way obligatory in a project. But … it adds beauty and style. You can easily show to your client that the project was created personally for him or her, to suit his or her tastes and wishes. Thus, the client is happy to have a unique project. And you can put up the price of the project with account to creating an individual screensaver.
In this post, I’ll describe how to make a screensaver of a slideshow of photos with the effect of falling snow in iRidium GUI Editor. It’s only one of the possible variants of animated screensavers. But using the step by step instructions given below as the basis for your work you can create any animated screensaver.
To make the screensaver you need:
- iRidium software package installed on your PC;
- basic knowledge of iRidium GUI Editor (at the end of the post you’ll find a list of required editor components);
- knowledge of scenarios iRidium Script;
- images from the archive with a ready project. Download here and unpack the archive.
7 steps to make an animated screensaver:
- Creating a screensaver page;
- Adding a slide-show;
- Creating the effect of falling snow;
- Adding date and time;
- Creating block – unblock buttons;
- Adding hot keys to the screensaver;
- Launching the project
Step 1. Creating a screensaver page
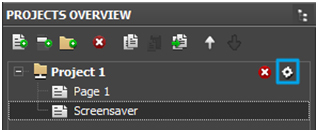
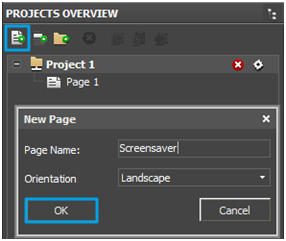 1.1. Create a new page and name it <>bScreensaver with the help of Add Page button in Projects Overview panel.
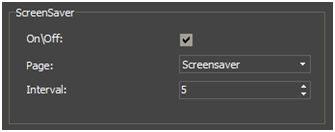
1.2. Open Project Properties and in the field ScreenSaver put a tick in On / Off. Select Screensaver from the dropdown menu in Page. Indicate the time in ms for the screensaver to appear in Interval (while working you can indicate the shortest possible interval – 5 ms).
Step 2. Adding a slide-show
 2.1. Add photos for the slide-show to the project. They can be photos to the house, its rooms or any other photos. You can also take images from the archive, that you’ve just downloaded (file SlideShow).
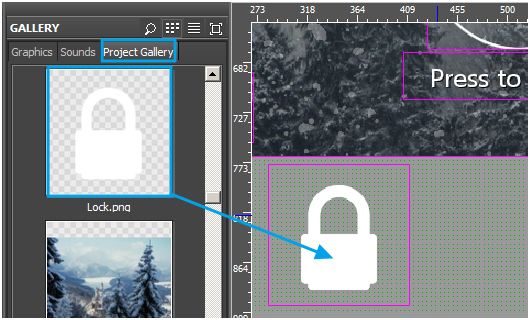
Add two more images for the Lock / Unlock button to the project (file Buttons) in the same way. We’ll need them in step 5.4.
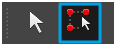 2.2. Create an item on Screensaver page with the help of Draw Item.
Set its parameter and view in Object Properties / General and States.
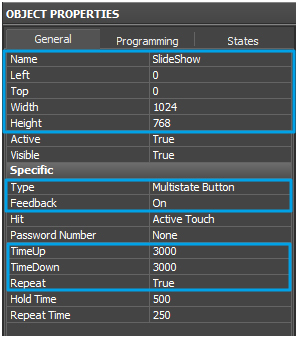
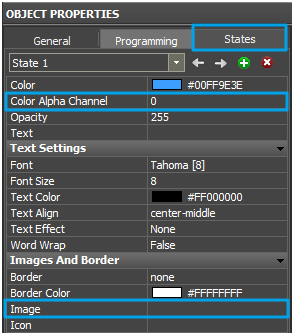
2.3. Add states to the item SlideShow with the help of Add State button in Object Properties / States. The number of states is determined by the number of photos for the slide-show in your project.
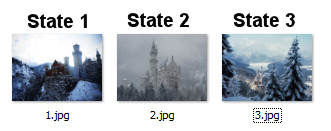
There are 3 photos in the archive that you downloaded
2.4. Select state 1 of the item in Object Properties / States.
Open Gallery / Project Gallery drag and drop image 1 on the item. Select As image in the menu that appears.
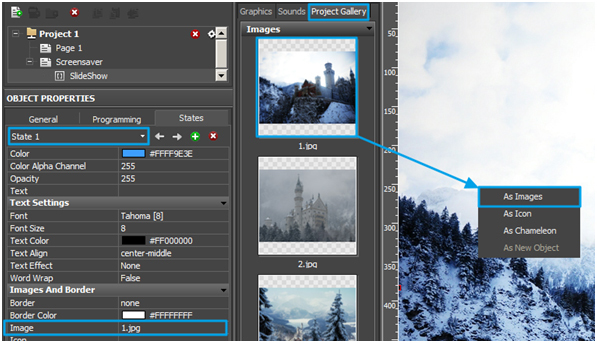
Then select Next State in Object Properties / States drag and drop the next image on the item. Repeat this until you fill in all states with images.
(There are 3 states in the archived project)
Step 3. Creating the effect of falling snow
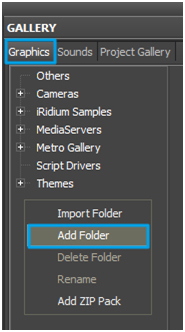 3.1. Open Gallery / Graphics, create a new folder and name it Screensaver with the help of Add Folder button.
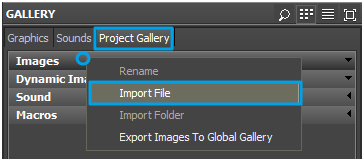
 3.2. Open a menu in the right column of Screensaver Folder with the right mouse button and select Import File.
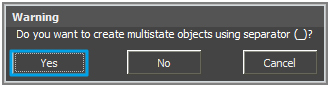
3.3. Select all images from the folder Snow in the window that appears.
When importing several images, the Editor will offer to unite them into one item. Click Yes.
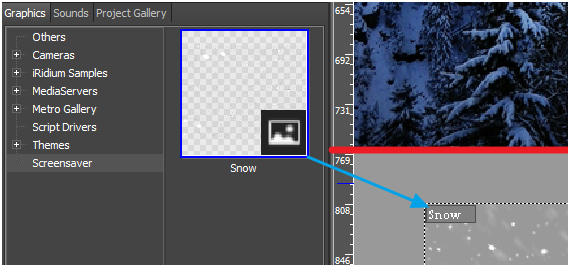
3.4. Now we have item Snow in Screensaver folder. To add an item from the Gallery to the page as a new item, drag and drop it to the free working area of Screensaver page.
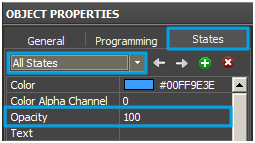
3.5. Set the following parameters for item Snow


Step 4. Adding date and time

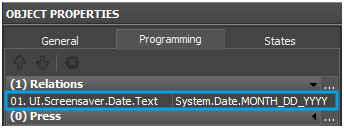
4.1. Create an item and name it Date
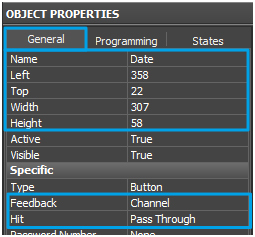
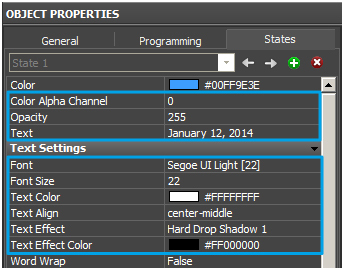
Open Project Device Panel open folder System Tokens / Date, select the variableMONTH_DD_YYYY and drag and drop it on the item. The date will be displayed as text, that’s why select In Text in the window that appears.

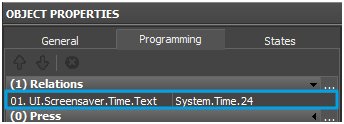
4.2. Create an item and name it Time
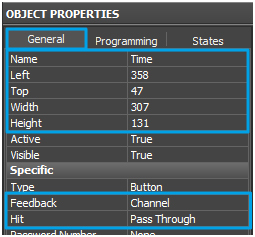
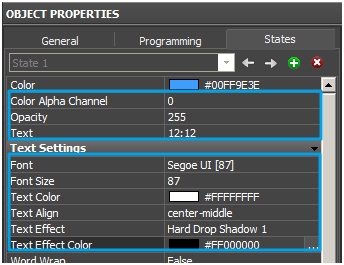
Add connection with time to the item.
Open Project Device Panel open folder System Tokens / Time, select the variable 24 and drag and drop it on the item. Select In Text in the window that appears.
Step 5. Creating block – unblock buttons
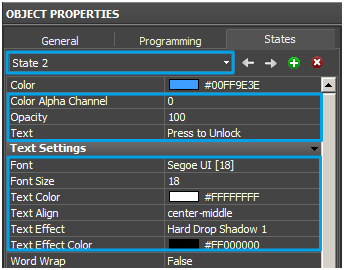
State 1 and State 2
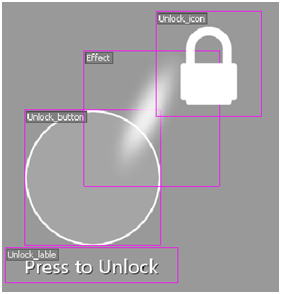
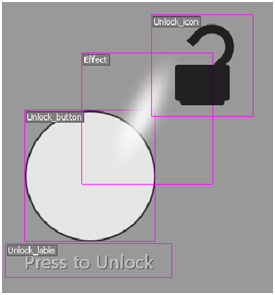
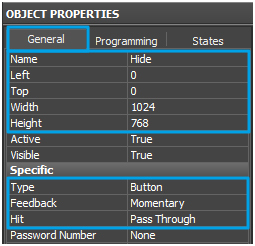
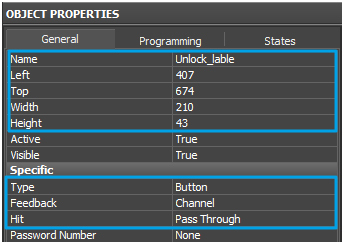
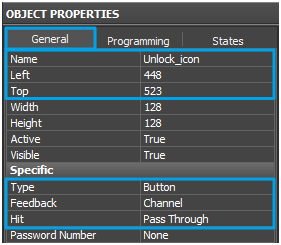
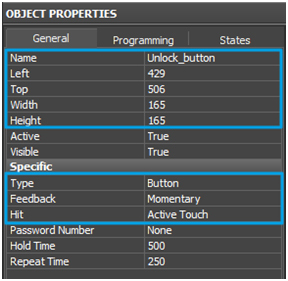 5.1. Create an item, name it Unlock_button and set the following parameters in Object Properties / General.
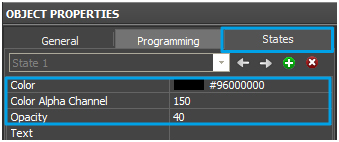
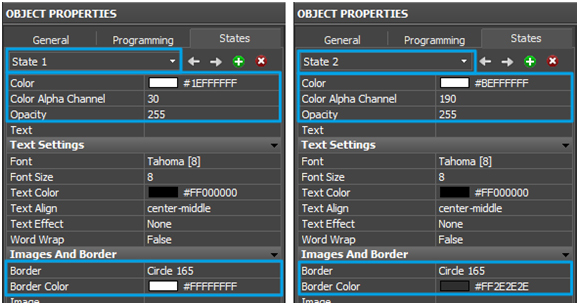
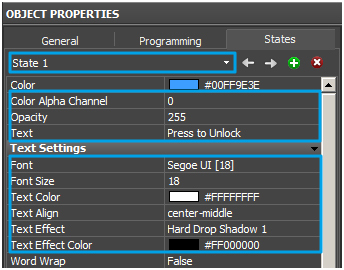
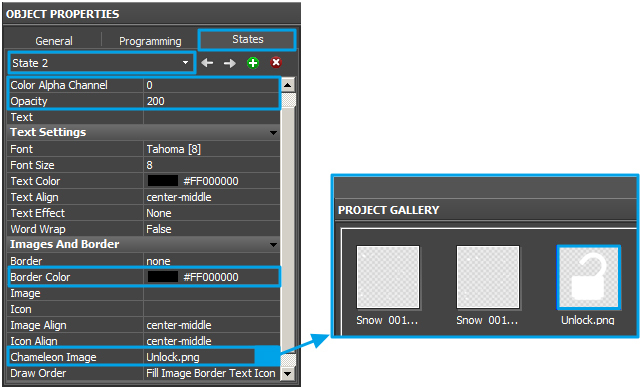
Item Unlock_button has 2 states. Set their views in Object Properties/States.
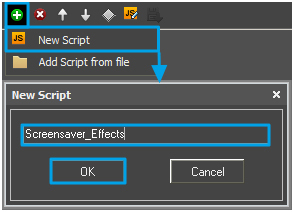
 Create a new script module.

// Variables
var timer = 0; // Time saver
var start = 0; // Starting value for animation
var end = 0; // End value for animation
var item = 0; // Animated item
var aTime = 300; // Time for animation
// Animation
IR.AddListener(IR.EVENT_WORK, 0, function(time){
// Check if there is an item for animation.
if(item){
// Save time
timer += time;
// Get the value and write it to property
item.GetState(0).Opacity = IR.Tween(“TWEEN_LINEAR”, timer, start, end, aTime);
// End – if the time limit is exceeded
if(timer > aTime){
// Write the end value
item.GetState(0).Opacity = end;
// Set to nil the saver and the item
timer = item = 0;
}
}
});
// User’s function to be called by macros Script Call
function Hide_to_Black(){
// Get the item
item = IR.GetItem(“Screensaver”).GetItem(“Hide”);
// Get the current value of opacity, as the starting value of animation
start = item.GetState(0).Opacity;
// Get the end value of animation
end = 255 – start;
}
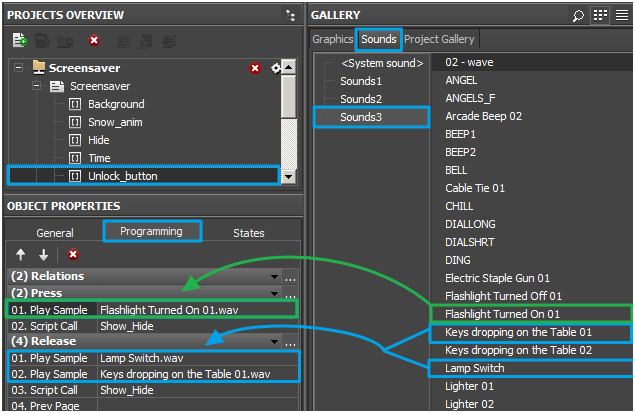
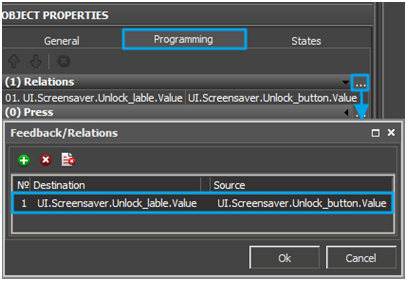
Select item Unlock_button and open Object Properties / Programming.
To call animation, add macros Script Call with the function Hide _to_Black to the Press event.
To come back to the previous page add macros Script Call with the function Hide _to_Black and macros PrevPage to Release event.

Destinations = UI.Screensaver.Unlock_lable.Value
Source = UI.Screensaver.Unlock_button.Value
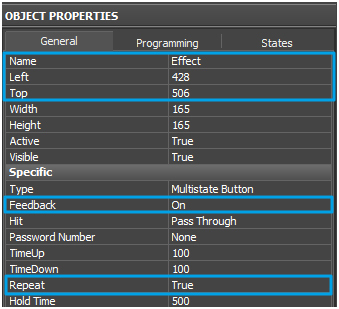
5.3. Take item Effects from Screensaver folder in Gallery / Graphics Screensaver (it was added in step 3.3).
Set the following parameters for it.
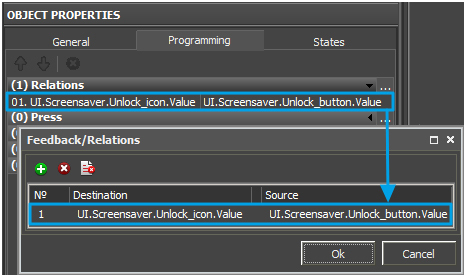
Destinations = UI.Screensaver.Unlock_ icon.Value
Source = UI.Screensaver.Unlock_button.Value
Step 6. Adding hot keys to the screensaver
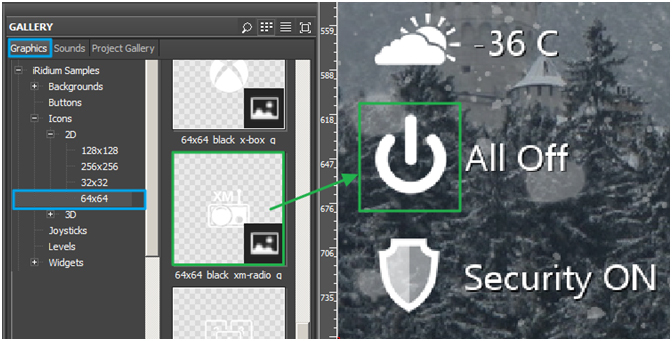
To add different hot keys (for quick access to functions of smart home), use icons in Gallery / Graphics / iRidium Samples / Icons / 64×64.
Step 7. Launching the project
Press Emulator or hot key F5.
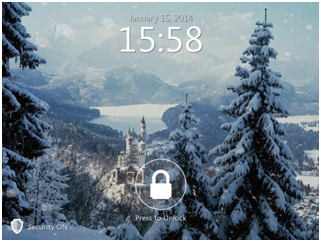
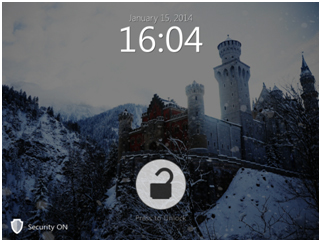
Wait for 5 seconds and see it work.

Required components:
iRidium GUI Editor:
- Multistate Buttons
- Macros Editor
- Gallery Graphics, Sound
- Chameleon image
- System Tokens / Date и Time
Scripts: